Concept to manufacturing
About Us
Manufacturing Industry is undergoing radical change and we are helping our clients adapt to new manufacturing methods to be competitive, flexible and cost effective. We understand requirement and suggest optimum manufacturing method to our clients.
We like to be the partner through entire product lifecycle, right from ideation till service support. We have added value to many engineering companies, medical equipment manufacturers, startups in IOT space and defense sector at large.
We are working on new product development projects, spare parts on demand, ON DEMAND MANUFACTURING
Our Services
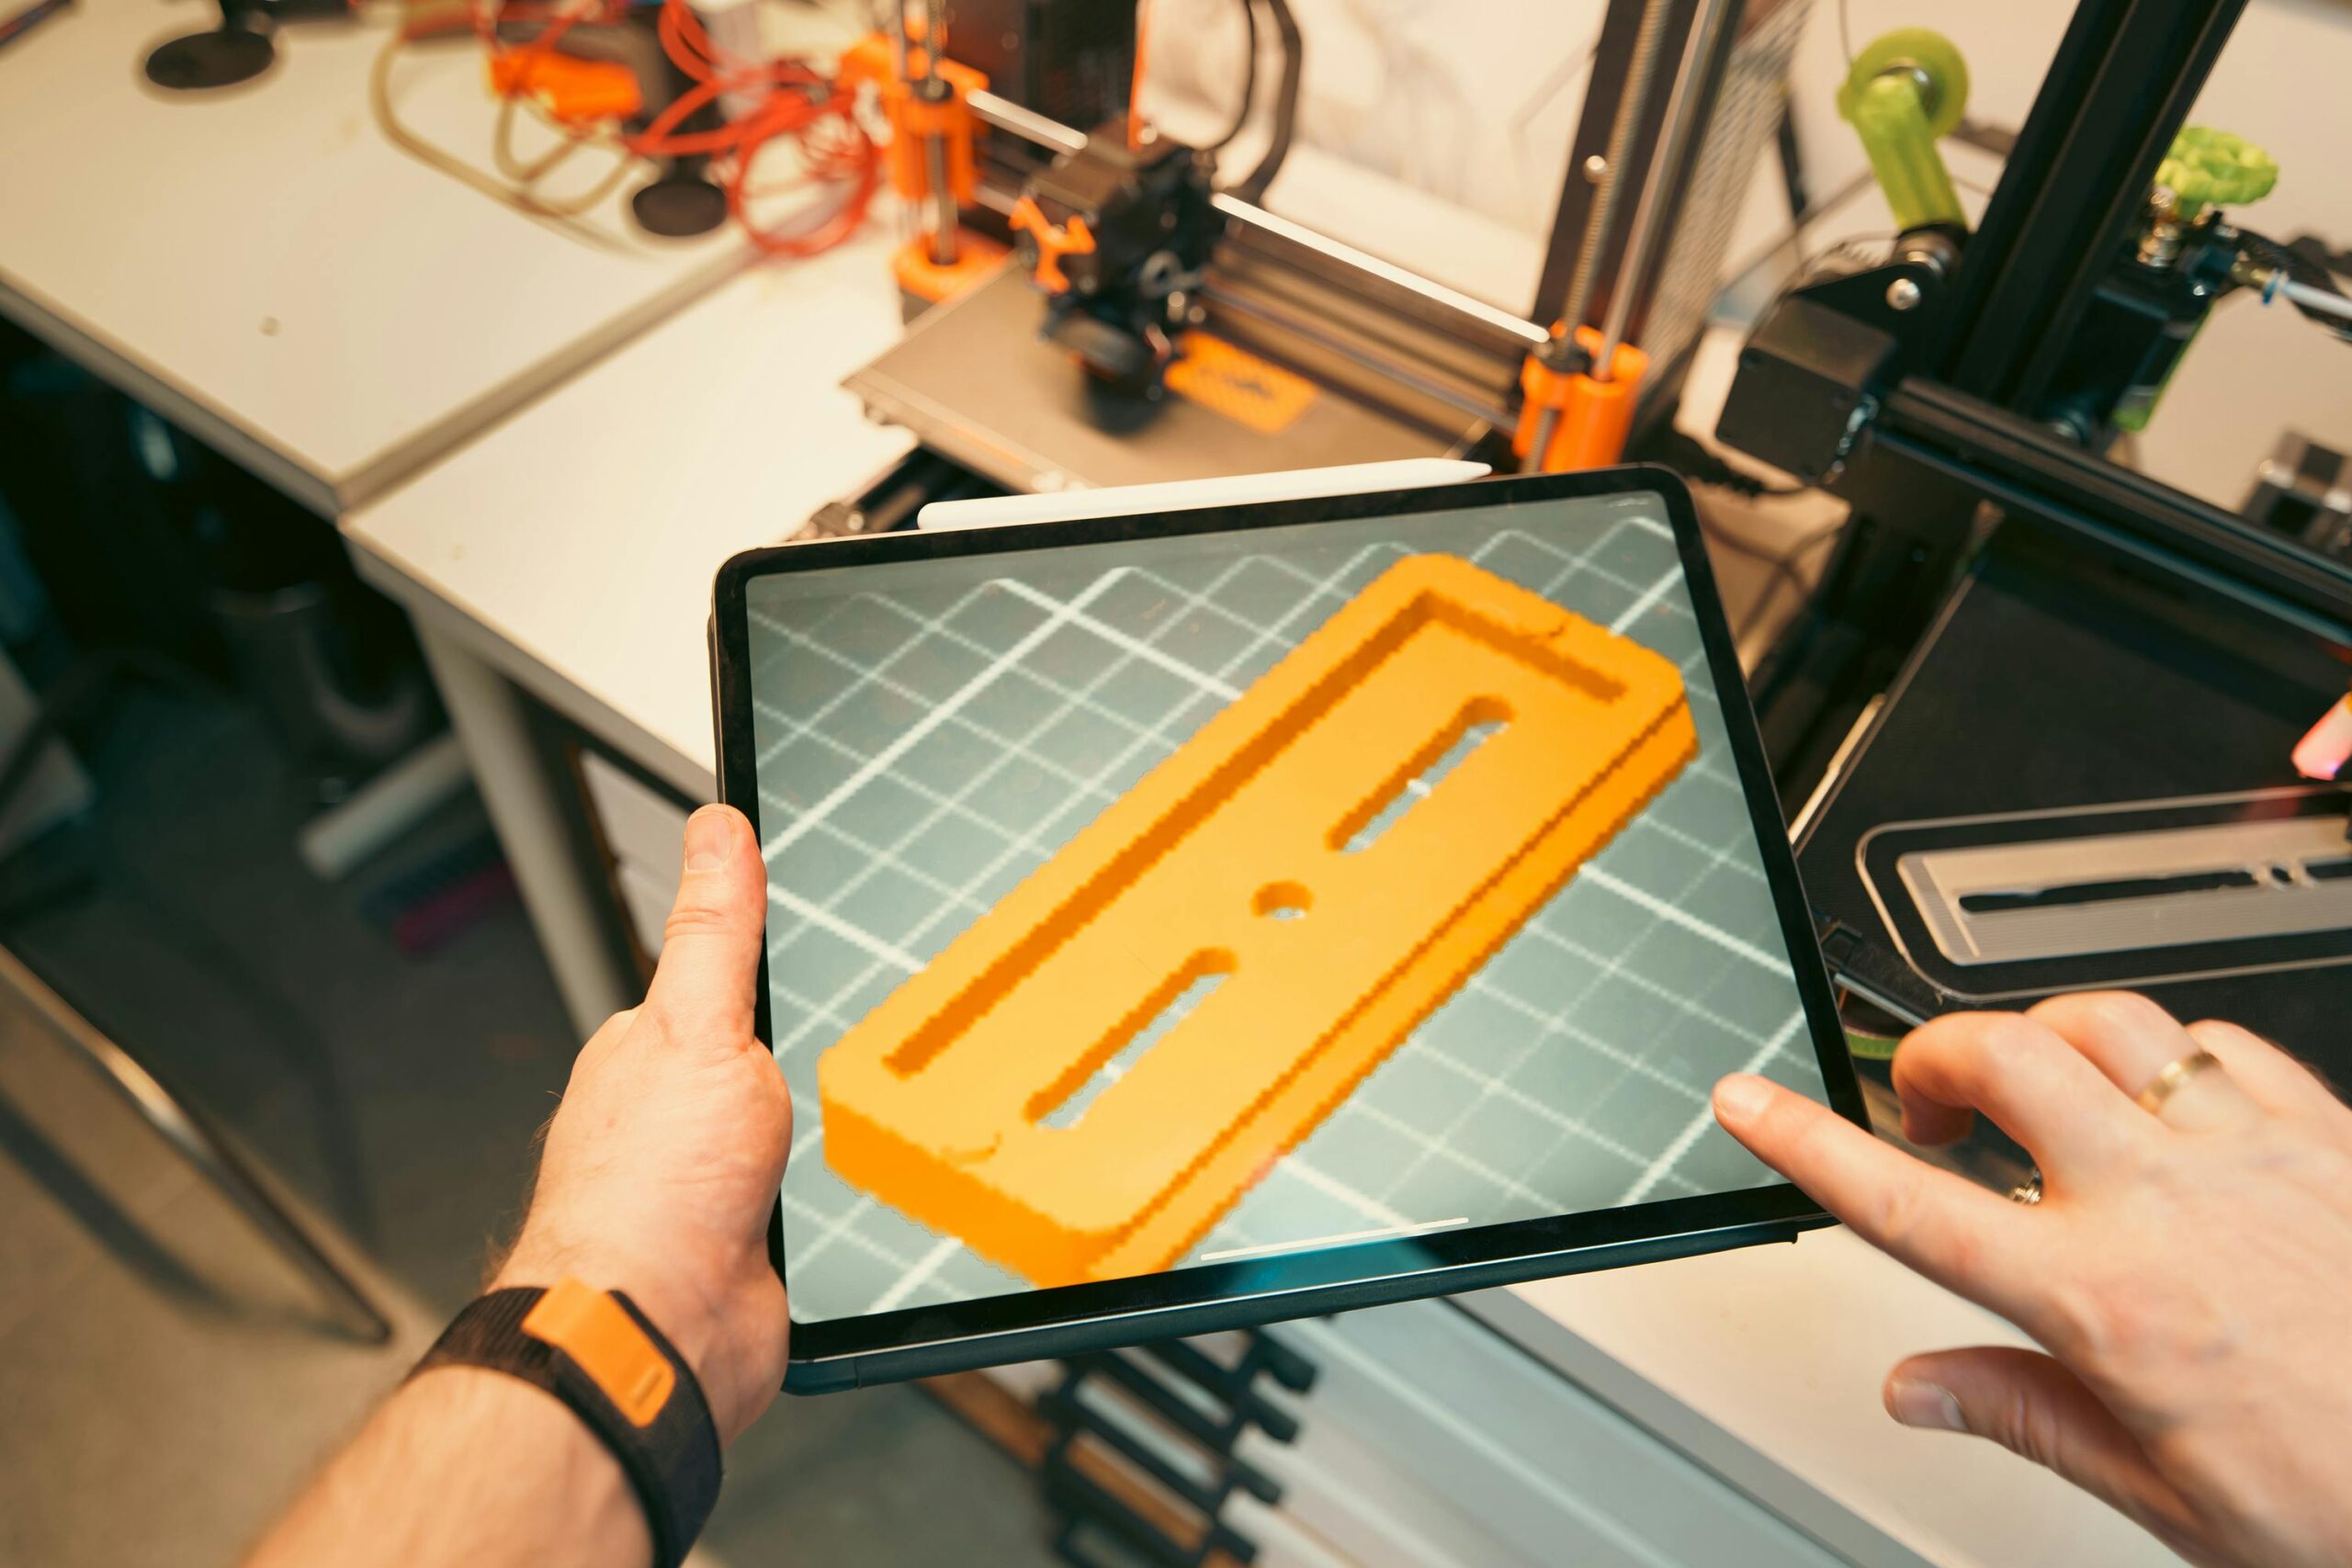
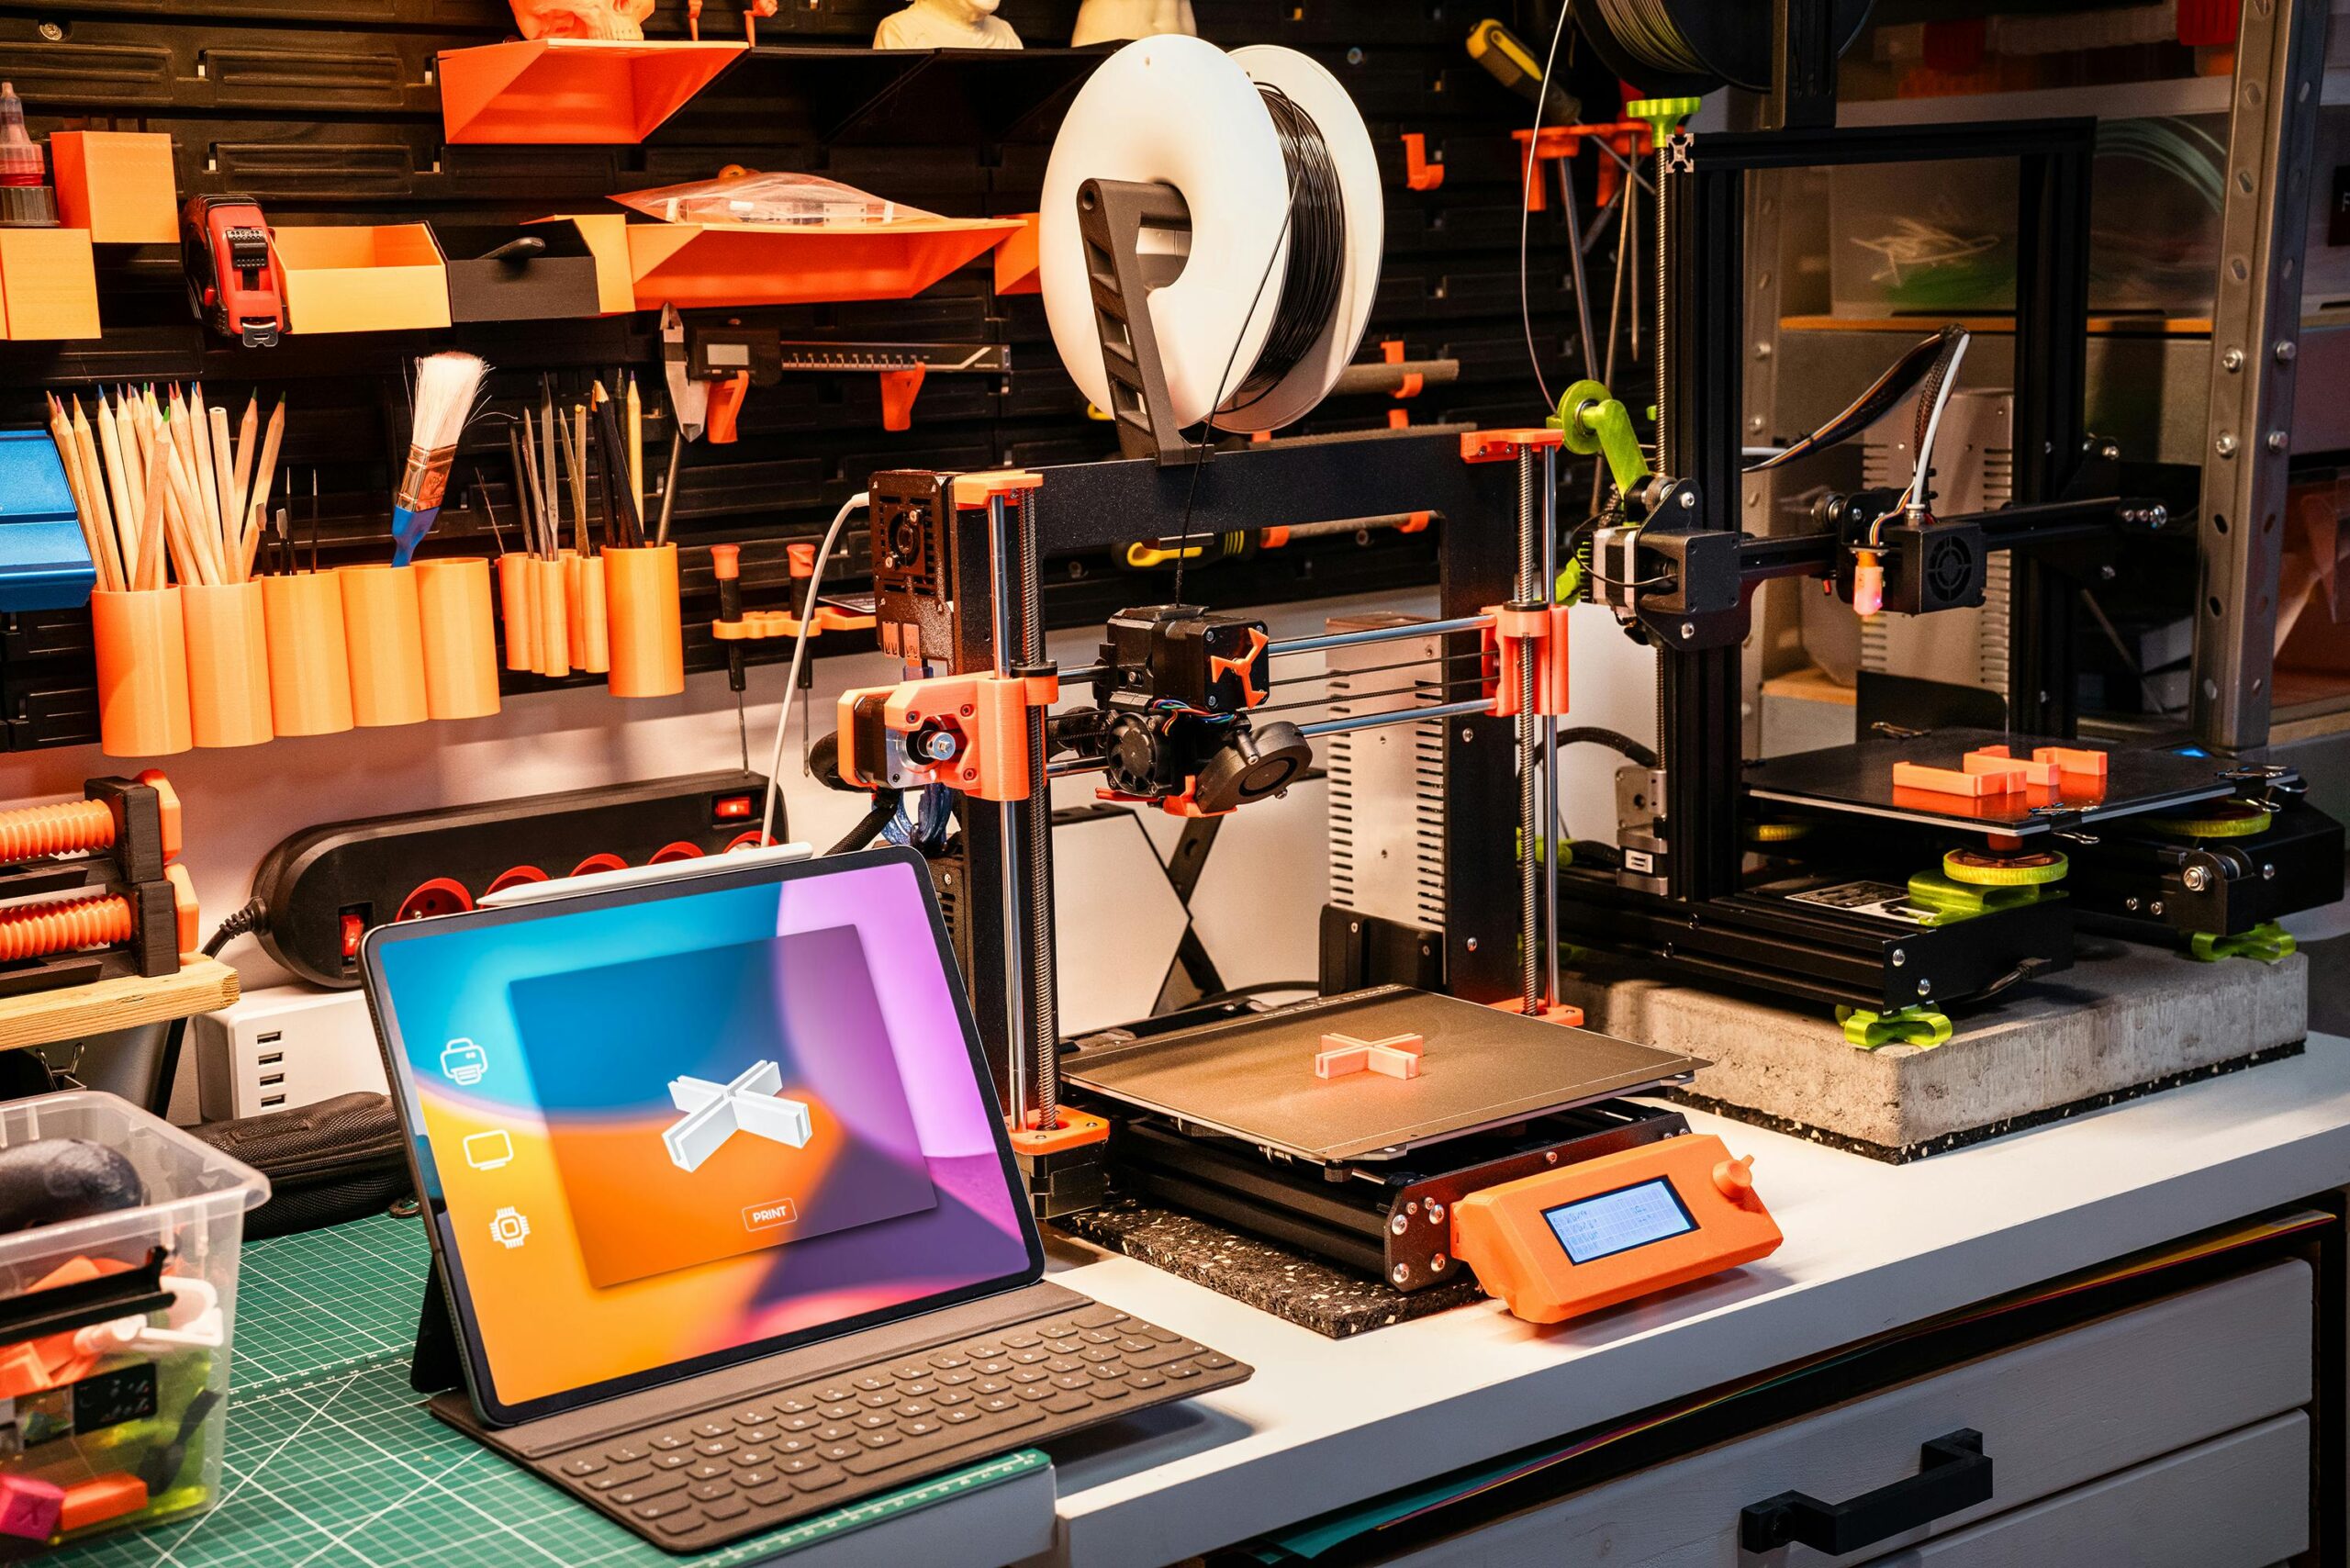
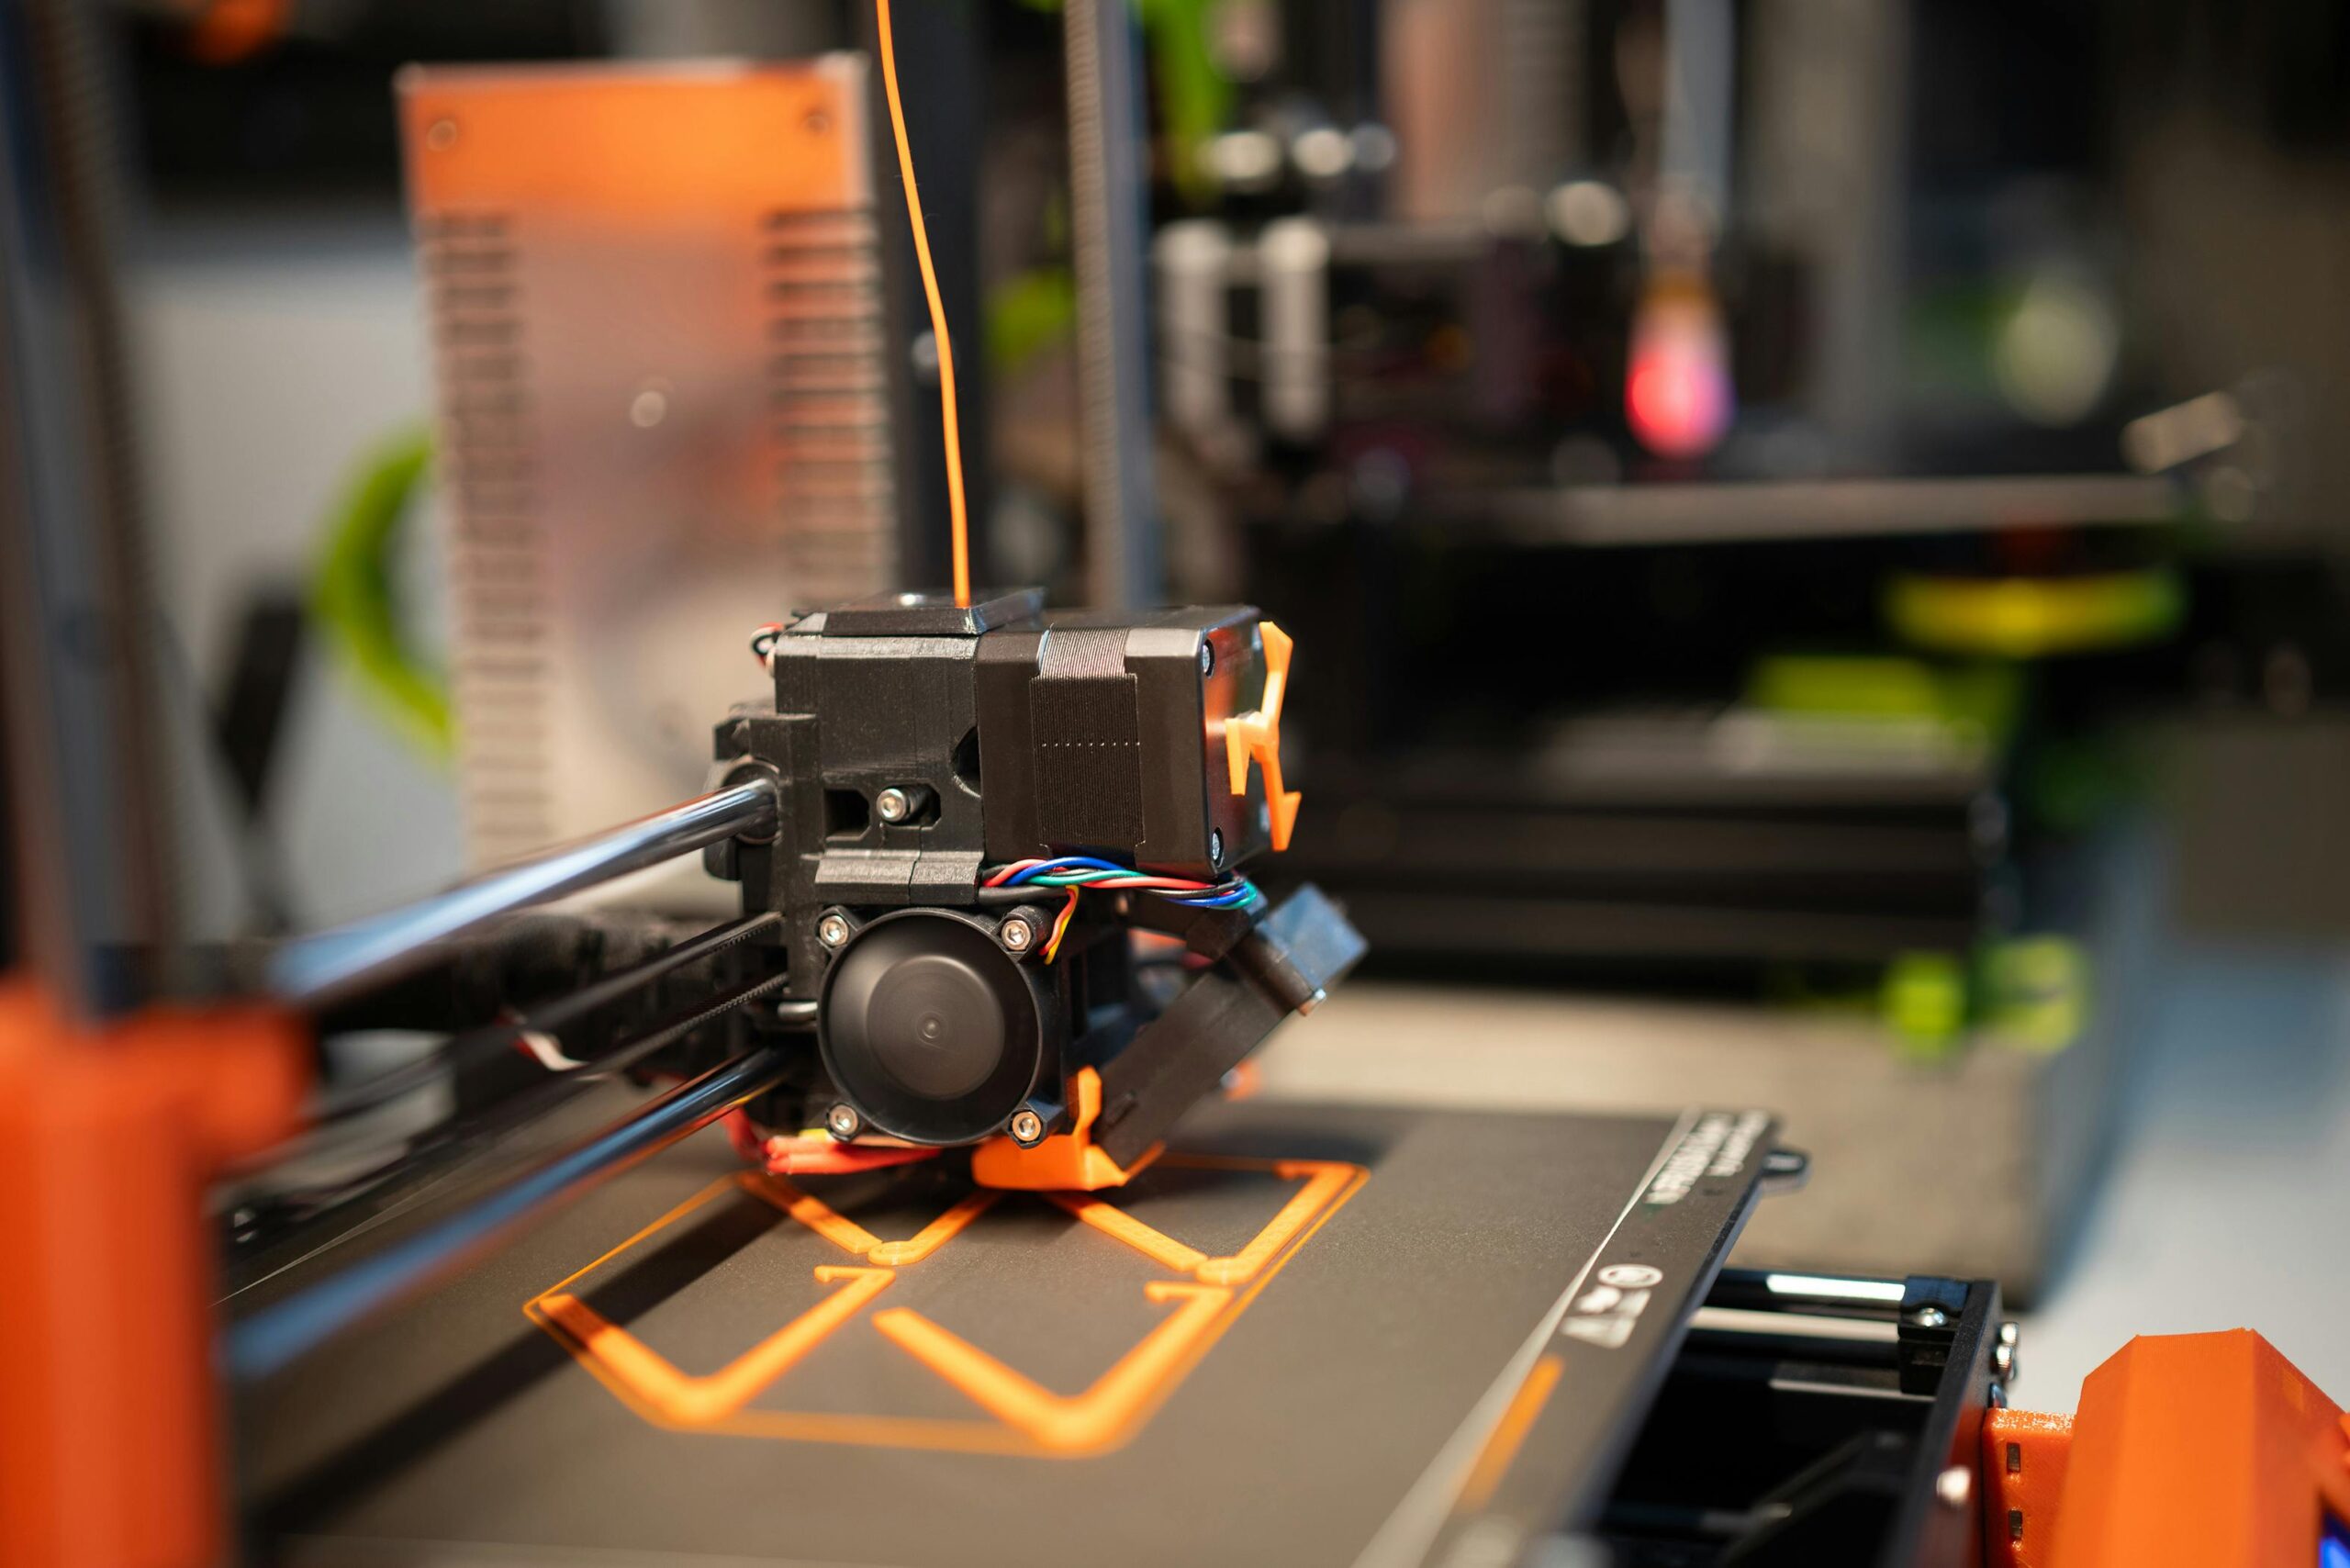
3D Design
3D printing creates custom, precise objects from digital designs, enabling rapid prototyping, production, and innovation across various industries and applications.
Construction 3D Printing
Construction 3D printing uses automated technology to build structures layer by layer, reducing waste, labor, and time while enhancing design flexibility.
3D Scanning
3D scanning captures real-world objects or environments digitally, creating accurate 3D models for design, analysis, replication, and quality control purposes.
Industrial Design
Industrial design shapes products for function and aesthetics, blending creativity and engineering to enhance usability, appeal, and market success.
01
Whom do we serve
Product Manufacturing Industry
02
How we serve them
Product development service till manufacturing. Ensure Quality control.
03
What problem are we extremely passionate about Solving:
Develop, manufacture products sustainably using optimum resources and
Reduce natural resources from 30% to 20% in manufacturing of Engineering products by adapting hybrid manufacturing techniques and developing product sustainably
Blog
Insights & Analysis
Additive Manufacturing
The Art of Risk Management: Safeguarding Your Investments in a Volatile Market
Bridging the Gaps in Product Development: Challenges of Multi-Agency Involvement
Demystifying Technical Analysis: A Beginner’s Guide to Chart Patterns and Indicators
“Sagar is Multi Talented and extremely enthusiastic whether it’s work or play.
I recommend Sagar and his Organisation Zpro for anyone who wants to start /expand their offering in 3D Printing space. Whether you want to buy a 3D Printing Machine or you need any proof of production (prototyping) or you wish to get some special item 3D Printed, Sagar will help you for every aspect from conceptualization to actual production.
Having worked in many Industrial Automation companies, Sagar has in depth knowledge of complex manufacturing processes as well as process automation.”
Amol Pandit
Director